
Preparing a home for a real estate photo shoot is one of the most important pre listing steps. A well prepared home photographs better, attracts more buyers, and often leads to stronger offers. Many homeowners underestimate how much preparation matters. Small details, clutter, or poor lighting can influence online perception long before buyers visit in person.
This guide explains why preparation matters, provides a complete checklist, offers room by room advice, and shares staging tips that help homes look their best in professional real estate photography.
Why Preparation Matters More Than People Think
Photos capture everything. Online listings are usually the first point of contact for buyers, and first impressions are critical. A cluttered, dark, or messy space can create negative emotions and reduce perceived value. Buyers make fast decisions based on what they see, so preparation becomes essential.
Professional real estate photography highlights a home’s best features and creates a visual story that appeals to buyers emotionally. Clean, organized, and well lit rooms signal care and quality. This influences buyer behavior and increases the chances of showings. Preparation is more than cleaning. It is about shaping perception and helping buyers connect with the home.
Whole Home Preparation Checklist
Before the photographer arrives, homeowners should focus on a few key tasks. A deep clean is essential. Floors, windows, countertops, and surfaces should be spotless. Depersonalizing is important. Remove family photos, personal items, and anything that prevents buyers from imagining themselves in the home.
Declutter counters, shelves, and storage areas to open up the space. Ensure all light bulbs are working and match in color temperature. Hide small items such as toiletries, wires, remotes, and chargers to reduce distractions.
Following a thorough checklist ensures the home looks polished and maximizes the impact of professional real estate photography.
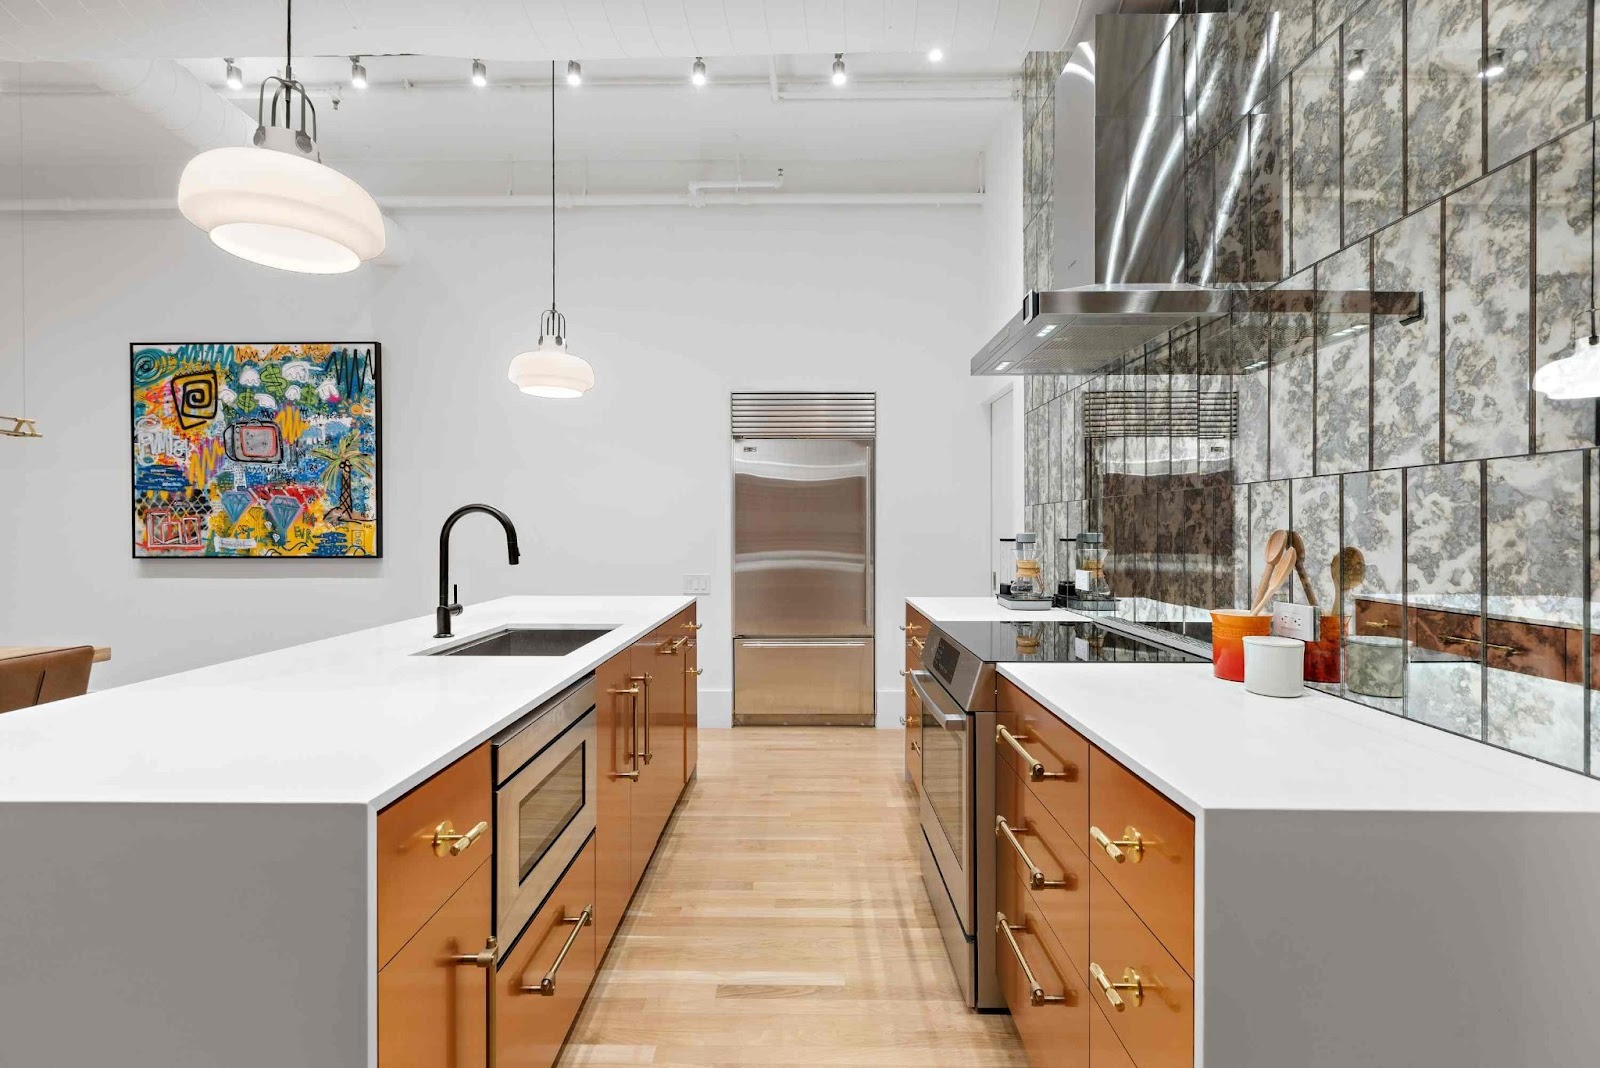
Room by Room Guide
Each room requires specific attention.
Living Room: Arrange furniture to create flow and avoid clutter. Add light textiles such as pillows or throws for warmth.
Kitchen: Clear counters completely. Remove trash, dishes, drying racks, and refrigerator magnets. Clean appliances and let natural light shine.
Bedrooms: Use neat, symmetrical bedding. Adjust lamps and lighting to create a calm and welcoming atmosphere.
Bathrooms: Close toilet lids, hide personal products, and polish mirrors. Use simple towels for a clean look.
Dining Area: Align chairs and add a simple centerpiece.
Home Office: Tidy desks, hide cables, and clear paperwork.
Kids Rooms: Remove most toys and keep decor neutral to appeal to a wide audience.
Proper attention to each space ensures professional real estate photography captures both beauty and function.
Exterior Preparation
Curb appeal sets the tone for the entire listing. Lawns should be trimmed, walkways cleaned, and porches swept. Remove vehicles from the driveway to reveal space and improve composition. Backyards and patios benefit from simple staging with outdoor furniture, potted plants, or clean cushions.
A prepared exterior helps professional photos stand out and increases engagement online.
Lighting and Timing
Natural light plays a major role in how rooms appear. Interiors often photograph best in late morning or early afternoon when light is even and bright. Twilight sessions work well for exteriors, especially homes with landscape lighting, pools, or sunset views.
Choosing the right time of day ensures the home is captured at its best.
Staging Tips That Maximize Buyer Appeal
Small design choices create strong emotional moments for buyers. Rugs, pillows, greenery, and simple decor add warmth and texture. Coordinated colors across rooms create harmony. Thoughtful touches, such as an inviting reading corner or a clean workspace, help buyers imagine living in the home.
These details improve engagement and elevate the results of professional real estate photography.
What Homeowners Should Not Do
Certain mistakes can harm photo quality. Avoid:
Over staging with too many accessories
Leaving clutter in corners or on floors
Blocking windows or reducing natural light
Using harsh artificial lighting or mismatched bulbs
These issues distract from the home’s features and weaken buyer perception.
How Professional Photographers Work on Shoot Day
Photographers follow a detailed process to achieve the best results. They begin with a walkthrough to evaluate lighting and angles. They may move small items, adjust furniture, open blinds, or align objects to improve composition. These fine adjustments ensure that each room is captured cleanly and accurately.
This approach helps professional real estate photography showcase the home in the most appealing and realistic way.
Conclusion
A well prepared home produces high performing photos that attract buyers and support faster decisions. Preparation increases perceived value, enhances lifestyle appeal, and strengthens online engagement. When combined with professional real estate photography, a properly staged home stands out, sells faster, and leaves a lasting positive impression on potential buyers.