



Wondering how to take good real estate photos without hiring a professional photographer? The quality of your listing photos can have a big impact on how quickly a property attracts attention. Bright, well-composed images help buyers and renters get a better sense of the space and encourage them to learn more. We'll show you how to take great real estate photos with simple techniques that help every room look its best.
Everything You Need Before Photographing a Property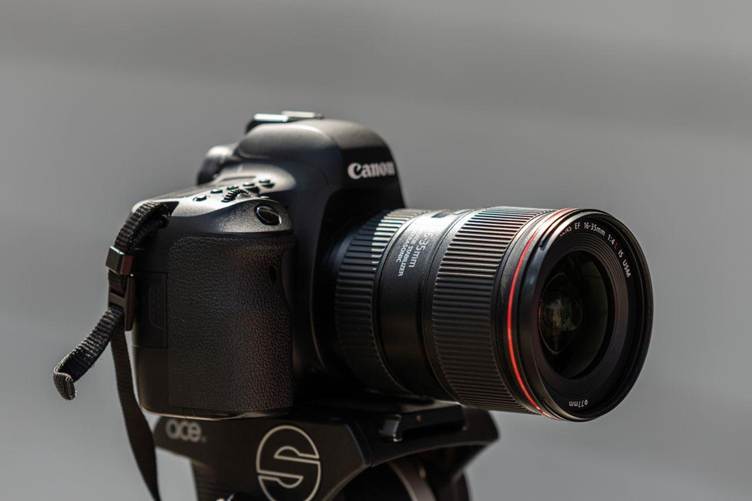
You don't need a professional studio to take great real estate photos. In fact, many experienced real estate photographers rely on a relatively simple setup. The right equipment, a well-prepared property, and good lighting will have a much bigger impact on your results than buying the most expensive camera or lens.
Before you take a single photo, spend a few minutes getting the home ready.
- Declutter countertops, tables, and floors.
- Remove personal items, such as family photos and toiletries.
- Open blinds and curtains to let in as much natural light as possible.
- Turn on interior lights to brighten darker areas.
- Clean windows, mirrors, and reflective surfaces.
Once the home is ready, gather your equipment. A DSLR, mirrorless camera, or even a modern iPhone can produce high-quality listing photos. Pair your camera with a few basic accessories, and you'll have everything you need to capture bright, sharp, and realistic images:
- A wide-angle lens (16–24 mm on a full-frame camera) to capture more of each room without making it look unnaturally stretched.
- A tripod to keep your camera steady, reduce blur in low light, and maintain consistent framing throughout the shoot.
- A small LED or fill light to brighten dark corners or rooms with limited natural light without relying on harsh flash.
- Spare batteries or a power bank for longer photo sessions, plus enough free storage space on your camera or iPhone.
- A computer or tablet for reviewing and editing your photos before uploading them to the listing.
Once you have everything in place, you can concentrate on the photos themselves instead of fixing problems during the shoot. Next, we'll cover the best tips for real estate photography that help every room look perfect.
How to Take Professional Real Estate Photos
Professional real estate photos should make the property look bright and inviting without creating a false impression. Before the shoot, inspect the property one more time and create a simple shot list before you begin.This helps you cover every important room and feature without wasting time or missing a key photo.
For most homes, include:
- The front exterior
- The entrance or hallway
- The living room
- The kitchen and dining area
- Each bedroom
- Each bathroom
- The backyard, patio, balcony, or garden
- Any garage, office, pool, view, or other standout feature
Take several versions of the main rooms from different positions. One photo may show the layout best, while another may highlight a fireplace, large window, or updated kitchen.
Use the Best Available Light
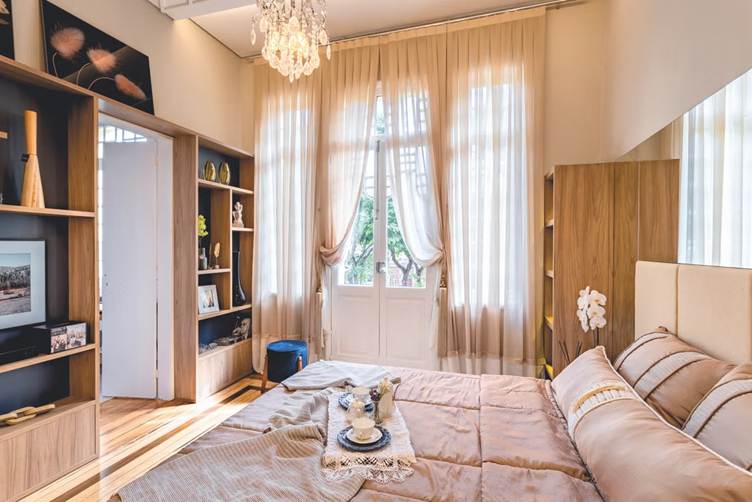
Natural light usually produces the most attractive and accurate results. Open curtains and blinds, then check how the light falls across the room. Early morning and late afternoon often provide softer light, while direct midday sun may create harsh shadows and bright patches.
Keep your light sources consistent. If daylight provides enough light, turn off interior lamps to avoid mixed color temperatures. If a room looks too dark, use a small LED panel, a bounced flash, or another soft fill light to brighten the shadows.
For exterior photos, choose a time when the sun lights the front of the property. Cloudy weather can also work well because it produces even light and fewer strong shadows.
Choose Angles That Show the Layout
Photograph rooms from a corner or doorway when possible. This usually shows more of the space and helps viewers understand how one area connects to another.
Try to include two or three walls in the frame. A photo of only one wall may look flat and reveal little about the room’s shape.
Avoid extreme wide angles that stretch furniture or make a small room appear much larger than it is. Step back when you can, and use the widest setting only when the space truly requires it.
Use Simple Composition Rules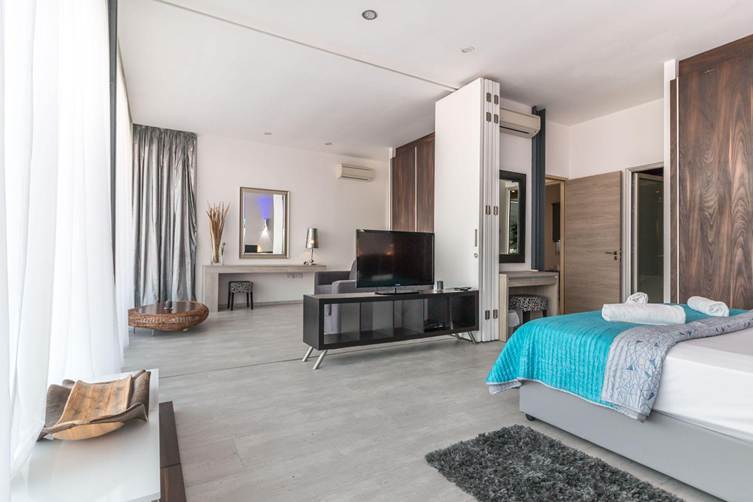
Turn on the 3 × 3 grid and place the main feature near one of the grid lines or intersection points. This works well for fireplaces, windows, kitchen islands, staircases, and front doors.
Look for leading lines from hallways, floors, countertops, rugs, and furniture. These lines can guide the viewer through the image and make the composition feel more balanced.
Before you take the photo, inspect the edges of the frame. Remove distracting objects, straighten chairs, adjust curtains, and check mirrors or glossy surfaces for unwanted reflections.
Use Exposure Bracketing for Bright Windows
A room with dark interior areas and bright windows can exceed the camera’s dynamic range. Exposure bracketing solves this problem by capturing several versions of the same composition at different brightness levels.
Place the camera on a tripod and take at least three photos:
- One exposure for the bright windows
- One exposure for the room
- One exposure for the darker shadows
You can combine these photos later with an HDR tool in Lightroom, Photoshop, or another editor. Keep the final effect natural. Heavy HDR can create halos, unrealistic colors, and an artificial appearance.
Back Up Your Photos Before You Edit
Copy the original files from the camera, memory card, or iPhone to a computer before you delete or edit anything. Keep a second copy on an external drive or in cloud storage until the client receives the final gallery.
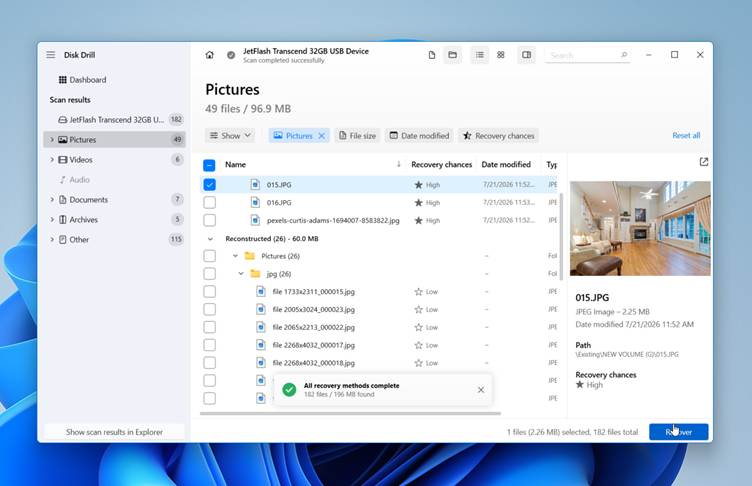
If you accidentally delete photos from a camera memory card, stop using the card immediately. New files may overwrite the deleted data and reduce the chance of recovery. For photo recovery using software, connect the card to a computer through a card reader and scan it with Disk Drill or a similar tool. Preview the recoverable images, then save them to a different drive rather than back to the same memory card. If you have any problems, you can ask for help in online recovery communities or consult a data recovery professional.
Edit With Restraint
Editing should improve the photo without changing what the property actually looks like. Correct exposure, white balance, lens distortion, and perspective first, then make small adjustments to contrast, highlights, and shadows.
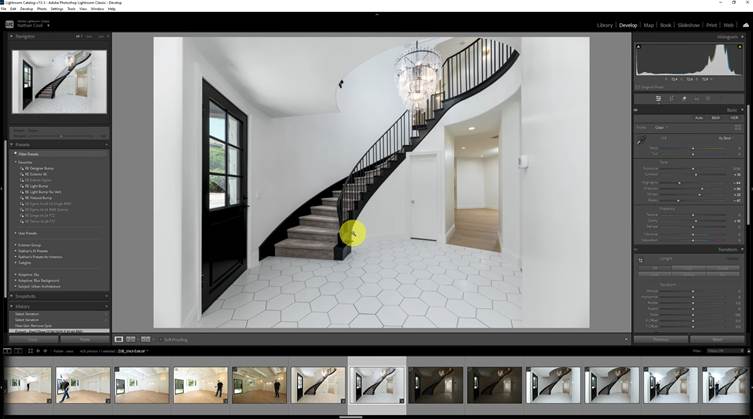
Adobe Lightroom is a great choice for most edits because you can apply the same settings to every photo from the property. Straighten vertical lines, enable lens profile corrections, and crop out small distractions around the edges of the frame. On an iPhone, the built-in Photos app works well for basic exposure and color adjustments.
Avoid heavy HDR, overly saturated colors, or removing permanent features from the property. Export the final images as high-resolution JPEGs, and keep the original RAW or HEIF files in case you need to make changes later.
Additional Tips for Taking Real Estate Photos with an iPhone
Modern iPhones can produce excellent real estate photos with the right settings and a little preparation. Before the shoot, clean the lens and make sure you have enough free storage. High-resolution photos take up space quickly, especially when you photograph every room from multiple angles.
Set Up the Camera in iOS 26
In iOS 26, the Camera app places Photo and Video at the center of the interface. Swipe across the mode area to reach Portrait, Pano, and other modes, or swipe up to open additional camera controls.
For property photos, use these settings:
- Open Settings > Camera and turn on Grid and Level. Use them to keep floors horizontal and walls, doors, and cabinets straight.
- Open Settings > Camera > Formats and select High Efficiency to save photos as HEIF files, which usually require less storage than JPEG files.
- Under Preserve Settings, save your preferred exposure, resolution, and other supported controls so the Camera app does not reset them between rooms.
- Turn off strong Photographic Styles or select a neutral style. Listing photos should show accurate wall, floor, and furniture colors.
- Use the regular Photo mode for interiors and exteriors. Portrait mode may blur parts of furniture or door frames, so reserve it for decorative details rather than full rooms.
- Leave flash off in most rooms. Direct flash can create hard shadows and reflections on windows, mirrors, tiles, and appliances.
The latest Photographic Styles require the High Efficiency format on supported models, and you can edit the style later in Photos.
Choose the Right Resolution
Open Settings > Camera > Formats and enable Resolution Control if your iPhone supports it.
For most property photos, 24 MP offers the best balance between image quality and file size. Switch to 48 MP (or HEIF Max on supported models) for important exterior shots, large rooms, or images you may crop later.
If you have an iPhone Pro or Pro Max, you can also enable Apple ProRAW for maximum editing flexibility. Use it only when you expect to make significant exposure or color adjustments, as ProRAW files take up much more storage.
Keep in mind that higher resolution doesn't always produce better photos. In low light, Night mode, or when using certain zoom levels, the iPhone may automatically reduce the final resolution.
Use the Main Camera Whenever Possible
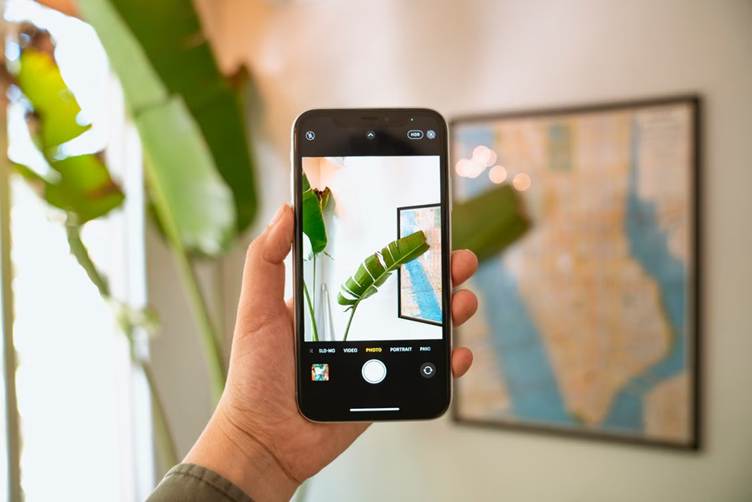
The 1× Main or Fusion camera usually produces the best balance of detail, color, and low-light quality. Start with it in living rooms, kitchens, bedrooms, and exterior scenes.
The 0.5× Ultra Wide camera can help in small bathrooms, narrow hallways, and compact utility rooms. Keep important furniture and architectural features near the center of the frame because objects close to the edges may appear stretched.
Do not use digital zoom to frame a room. Move closer when possible or crop the image later. On Pro models, optical lens options provide better quality than an arbitrary pinch-to-zoom setting, but the 1× camera should remain your default for most property photos.
Lock Focus and Adjust Exposure
Tap the main area of the room to set focus. Then drag the exposure control beside the focus box up or down. Reduce exposure slightly when windows appear completely white, or raise it when the room looks too dark. For a consistent series, press and hold the focus point until AE/AF Lock appears. This prevents the iPhone from changing focus and exposure each time you adjust the composition.
Clean Up After the Shoot
Transfer the original photos to a computer, external drive, or cloud service before you remove anything from the iPhone. Keep at least two copies until the listing is live and the client approves the gallery.
Once you have a backup:
- Delete blurred, crooked, and poorly exposed photos.
- Keep only the strongest one or two versions of each angle.
- Remove test photos and accidental screenshots.
- Review the Duplicates album for redundant copies.
- Use Clever Cleaner to group similar shots from the same burst or camera position.
- Empty Recently Deleted only after you check the backup.
This final cleanup keeps the library manageable and prevents several property sessions from filling the device. Clever Cleaner can also identify large videos, screenshots, duplicates, and visually similar photos, but review the suggested files before deletion so you do not remove an alternate exposure or angle that you still need.
Closing Notes
Great real estate photos do much more than showcase a property. Since most buyers begin their search online, your photos often determine whether someone clicks on a listing, schedules a viewing, or moves on to the next property.
If you want to learn how to take real estate photos, focus on preparation and technique instead of expensive equipment. A well-prepared home, good lighting, thoughtful composition, and careful editing have a much bigger impact than the latest camera. Whether you use a DSLR, mirrorless camera, or smartphone, the same principles apply: keep rooms bright, capture accurate colors and proportions, avoid distracting clutter, and present the property as it really looks.